Administer webforms
After Create webform we want to monitor responses and analyse the results.
Email settings
Notifications
Receive a notification every time the webform is submitted.
- Locate the webform you wish to administer.
- Select Edit
- Select Webform tab.
- Select +Emails
- Enter the email address you wish to send notifications to.
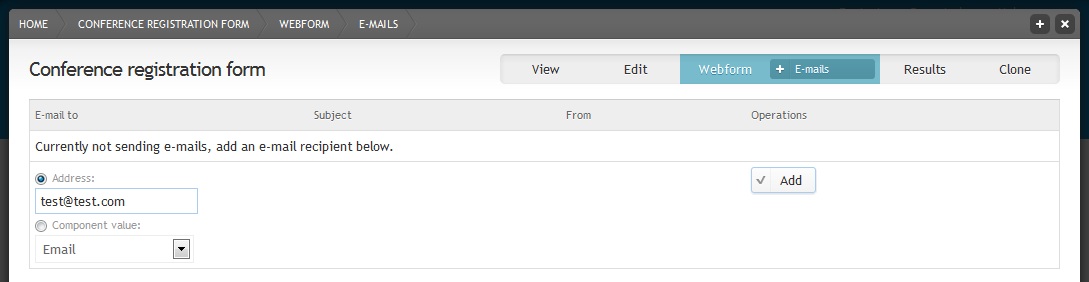
Add an email address for webform notifications
- Click Save configuration
Confirmation
Send a confirmation message to the user who submitted the form
Locate the webform you wish to administer.
Select Edit
Select Webform tab.
Select +Emails
Select Component value
Select the field that contains the email of the user and click on the button. This will only work if you have used an email type field in our webform.
In the ‘E-mail template’ section select “Custom template” in the drop down menu and enter some custom text in the field below, e.g. “Thank you for registering…”
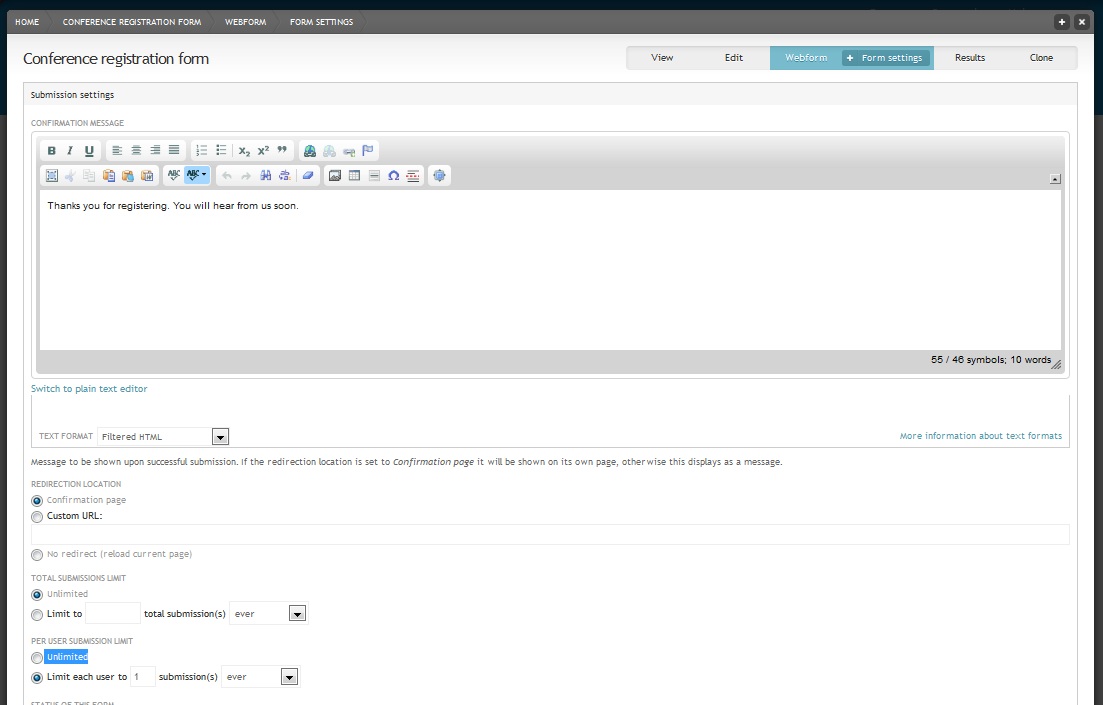
Webform form settings page
Click Save configuration
Form settings
The form settings page allows you to add a confirmation message to the website and limit submissions.
- Locate the webform you wish to administer.
- Select Edit
- Select Webform tab.
- Select +Form settings
- Add a confirmation message. This message will appear on the screen after the user has submitted the form.
- Under PER USER SUBMISSION LIMIT limit each user to 1 submission ever.
- Click Save configuration
Results
Submit the form a couple of times to test the confirmation message and notification emails.
On the webform, Select Edit > Results
On the + Submissions page you see a list of all submissions and can view, edit or delete single submissions.
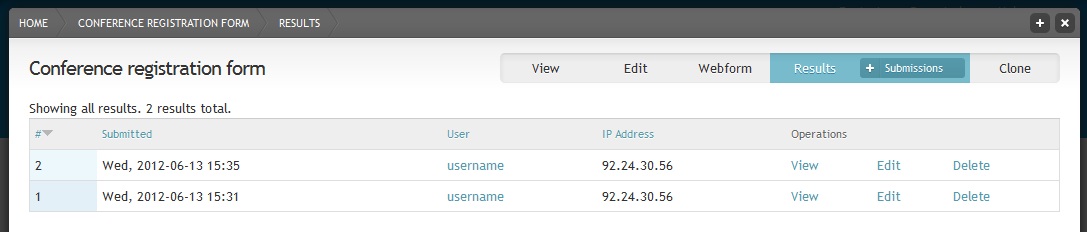
List of webform submissions
Click on + Submissions and select the + Analysis option. You will be presented with statistics for each field.
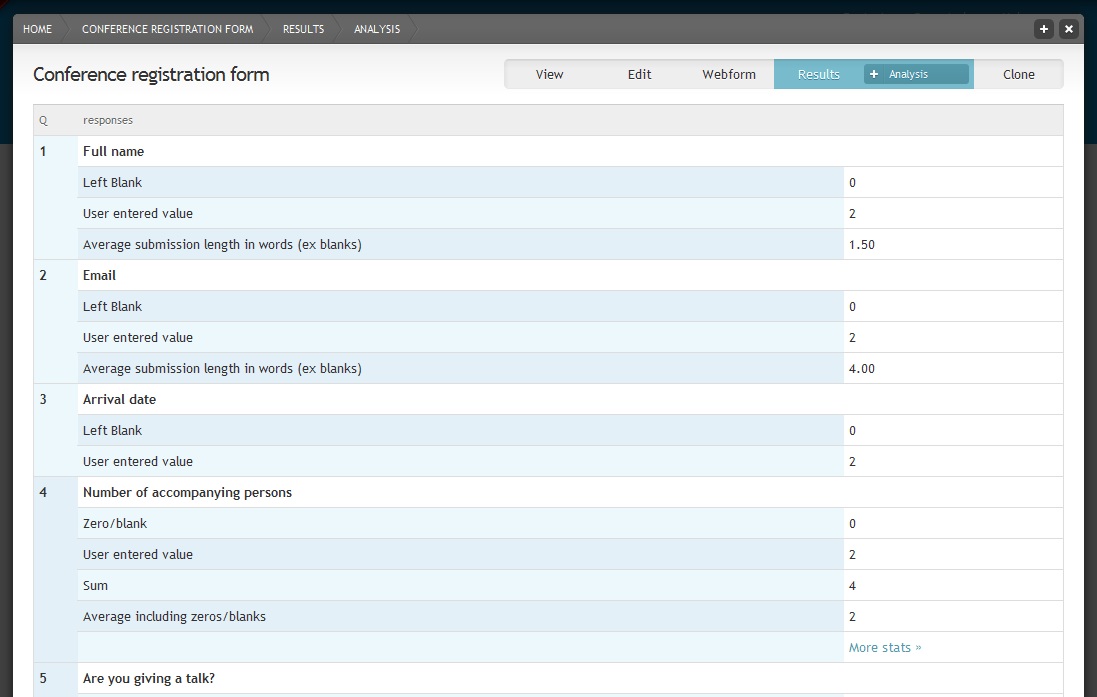
Analysis of webform results
Click on + Analysis and select the + Table option to view all submissions in a table format.
Click on + Table and select the + Download option to download the results as a delimited text or Excel file. There are various option for selecting the fields and format for the download.
The last results option is + Clear. This will delete all submission, so be careful before you clear the form.